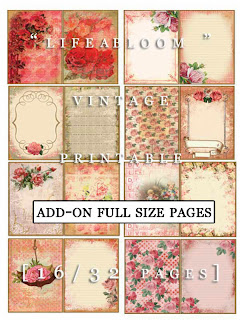
I've used the Life Abloom Full Size Journal Papers for this rose box this week.
I have a good friend getting married in a few weeks and I am doing her wedding flowers for her and thought this would be perfect for rose petals as I'm cleaning them for the bouquets.
It's such a beautiful paper and is perfect for wedding use.
(full view)

I began by gathering together my papers and some embellishments that I knew would match the pink and ivory color scheme my friend was using.
The colors of the paper made it so easy for me to decide what to make for my DT project.
I cut the tops and bottoms of the 12 x 12 cardstock according to the directions I found onwww.marthastewart.com/
The punched edges were distressed with Tim Holtz Distress stain (spun sugar)
I used a Spellbinders wavy rectangles die to cut out the center of Daisy's beautiful journal paper.
I hand cut a square out of the white cardstock (top) and attached a piece of celophane with my ATG. The designer paper was distressed with Tim Holtz Vintage Photo Ink and taped to the box top.
The four sides were cut, distressed and attached to the side of the box top
Bisque Liquid Pearls was added all the way around the outside of the bottom of the box and allowed to dry.
The pink ribbon was attached with double sided tape
To give it a more finished look
The pearl trimmed lace was attached with double sided tape just to the edge of the pink satin.
Although difficult to see - 3 strands of pearls was glued to the bottom left corner.
I die cut some leaves with my Cricut and stained them with Pimento Memento Ink and added some shading with Spectrum Noir markers
The leaves were attached to the box with glue dots
Roses were cut from the Spiral Blossoms (Spellbinders) die, distressed with red ink and rolled into flowers.
I made the bow from ivory satin ribbon in the same width as the pink ribbon, attached it to the box with double sided tape, added the pearl bling center (Michael's bridal Dept) and then placed the rose buds on the box and attached them with Tacky glue, adding a pearl bead to the center of each flower.
Take a few minutes and check out all of the beautiful DT projects posting every day at
- there is some amazing inspiration projects there for you to see!!!
Tsunami Rose Designs Links


This is just so gorgeous and elegant. Loving the pink colouring. A wonderful gift idea.
ReplyDeleteHugs Desíre {Doing Life}
This is fabulous Trudy, I do love the papers and a great tutorial too.
ReplyDeleteHugs
Linda xxx
Fabulous make xx
ReplyDeleteMoira